I like to have unique or different planters for the plants outside. I enjoy recycling or repurposing an item, to be used again instead of throwing into the garbage, and the item ultimately being in the landfill or ocean. I find that repurposing something is less expensive than buying an item for the purpose. Today, it is planters. I love plants and growing things, but I do not always have enough containers to put plants.
I wanted some planters for my new patio. I am repurposing two metal coffee cans. If I were not repurposing these metal cans, they would be in the metal pile to be taken to a scrap iron yard and recycled.
For my project I am using the two metal cans, some wallpaper border I fell in love with, sand paper (the size of the grit is not important), a paint brush, and wallpaper glue or paste.

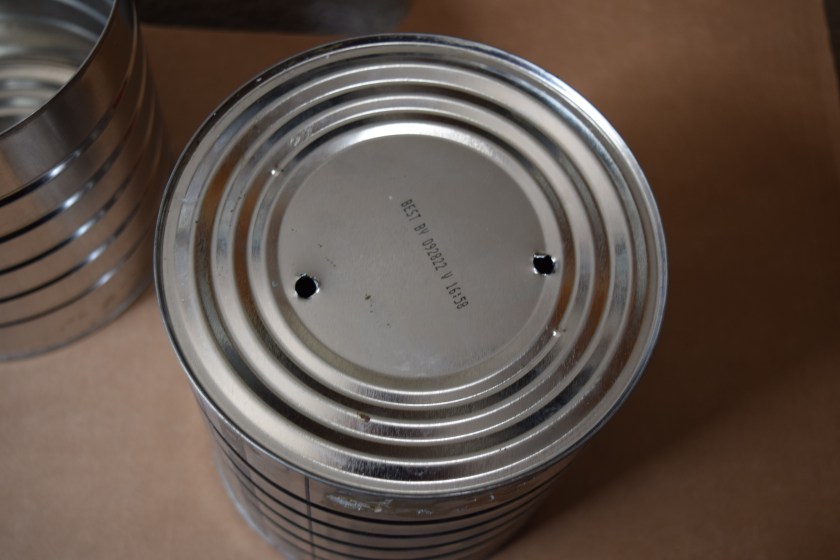
Since I am making planters, I need to drill a couple of holes to allow excess water to drain away from the roots of the plants. I used a 1/4 inch drill to make the holes. I would not go larger than 1/4 inch, as the soil would escape from the planter.
Removing the labels, I will sand the sides of the cans. The sanding is to create a broken surface, or rough surface for the wallpaper adhesive to bond to. Sanding to create the rough surface does not take much effort, basically just rubbing the sandpaper back and forth to create “scratches” in the polished metal.

Next, I measured out the wallpaper border to fit around the can, with 1/2 inch extra. I had found this wallpaper border at a Habitat for Humanity Store. I love visiting those stores, and have purchased building materials for remodeling and updating my home. This wallpaper border does not go with the interior theme of the house. But it will look good for planters.
I put the wallpaper adhesive on the can a few inches starting at the top and moving to the bottom. I attach the wallpaper making sure it is straight. Proceeding along the side, adding some adhesive and attaching the wallpaper a few inches at a time until I reach the start. I place some adhesive on the 1/2 inch extra and attach. I then take a damp rag, with gentle pressure I rub the wallpaper around the metal can, smoothing out bubbles and wrinkles, and making sure the wallpaper is glued to the whole surface of the can.
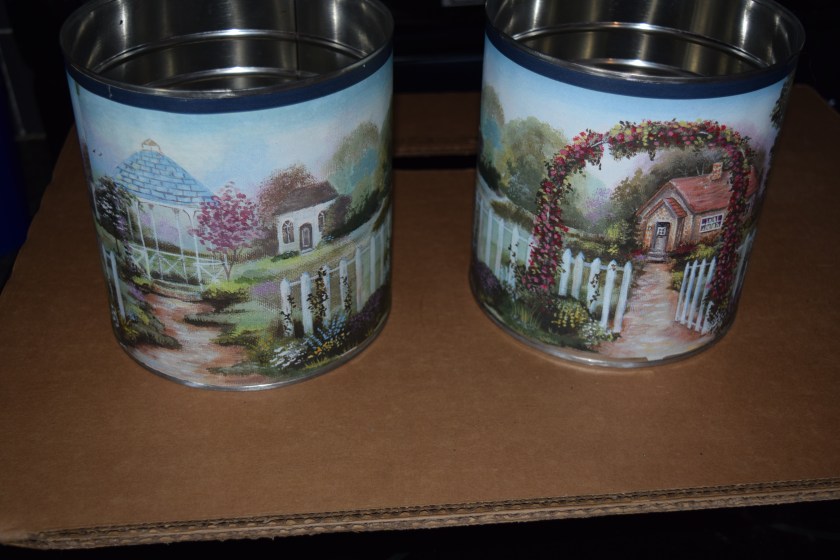
I am pleased with the final product. These will look nice on the patio, adding some unique color and design.
I placed rosemary in the new pots. Rosemary is good to keep mosquitos and spiders away for an area. They do not like the smell. A gentle rub on the leaves will release the aroma of the rosemary. Rosemary is also good for cooking in italian dishes, fish and lamb. When using fresh rosemary for cooking, a little bit adds a lot of flavor, fresh is much stronger than dried. You can also dry the rosemary you grow in planters.

amtolle

Wow look at you, that’s pretty darn cool!
LikeLiked by 1 person
Thanks.
LikeLiked by 1 person
Great idea, and they turned out to be very pretty.
LikeLike
Thank you.
LikeLike